
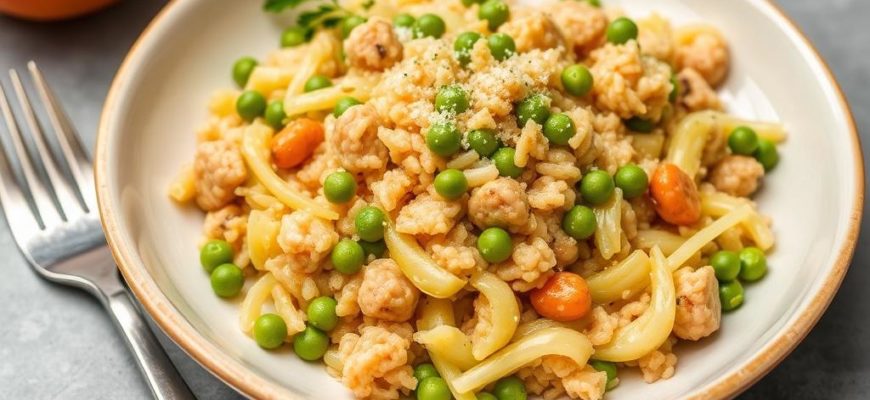
There’s something about a steaming pot of rice dotted with bright green peas that feels like a hug on a plate. Pilaf with peas is that kind of dish—simple, forgiving, and quietly brilliant. Whether you’re feeding a hungry weeknight crowd or looking for a side that holds its own next to roast meat or a spiced stew, this version of pilaf brings color, texture and a little sweetness to every bite. Keep reading and I’ll take you from origins to the best stovetop method, with tips that make your pilaf turn out fluffy, fragrant and exactly what you hoped for.
- Where Pilaf with peas Came From and Why It Fits So Well
- The Story Behind the Dish
- Interesting facts about Pilaf with peas
- Nutritional value Pilaf with peas
- Popularity in different countries Pilaf with peas
- The best step-by-step cooking recipe for Pilaf with peas
- Ingredients
- Method
- Tips for perfect pilaf with peas
Where Pilaf with peas Came From and Why It Fits So Well
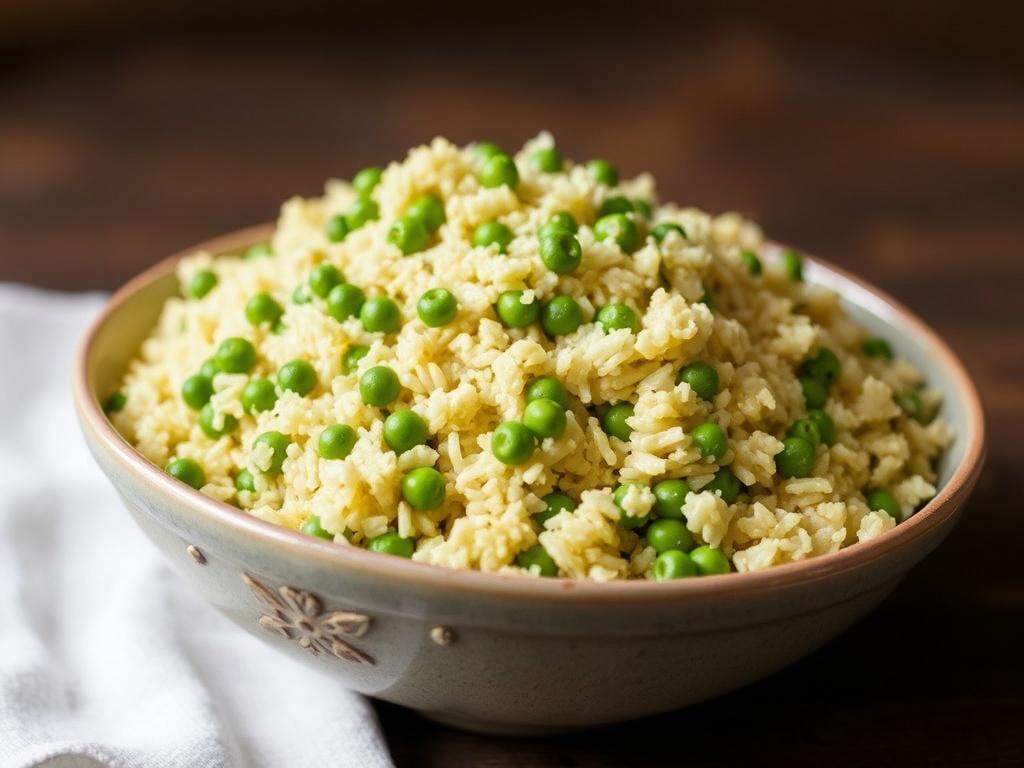
Pilaf is not a dish that sprang from one kitchen; it evolved across a wide swath of the old world. The technique of frying rice briefly and then cooking it in a seasoned liquid shows up in Persian cuisine, spread through Central Asia, reached the Indian subcontinent and traveled into the Middle East and Balkans. Adding peas is a natural, regional flourish — they’re inexpensive, keep their shape, and add a pop of color and a sweet vegetal contrast to the rice. In South Asia, “matar pulao” (peas pilaf) is a familiar weekday favorite. In Persian and Levantine kitchens, peas appear alongside herbs, dried fruit and nuts to balance textures and flavors. In short, pilaf with peas is both humble and adaptable, which explains its broad appeal.
The Story Behind the Dish
Historically, pilaf developed wherever rice cultivation met trade routes and creative cooks. The basic idea—sauté aromatics, toast rice, then simmer in stock—allowed local cooks to layer flavors using spices, broths and whatever vegetables or proteins were on hand. When trade brought new spices and the movement of people spread culinary ideas, variations multiplied. Peas likely became a common addition because they’re hardy, easy to store (fresh in spring, dried or later frozen) and they complement a wide range of seasonings, from cumin and coriander to saffron and bay leaf. Over time, regional names and small technique changes created a family of dishes that we now recognize as pilaf, pulao, plov and pilau.
Interesting facts about Pilaf with peas
- Word roots: The term “pilaf” comes from Persian “polow” and has many cousins: pulao, pilau, plov. Same idea, different accents.
- Matar pulao is India’s familiar peas pilaf, often cooked one-pot with potatoes or paneer for a simple meal.
- Peas provide a visual cue: green against white rice signals freshness and makes the dish feel celebratory even when it’s everyday food.
- Leftover pilaf with peas reheats well and often tastes better the next day after the grains relax and flavors meld.
Nutritional value Pilaf with peas
Nutrition varies depending on whether you use butter, oil or broth, and whether you choose white or brown rice. Below is a rough estimate for one serving (about 1 cup) of a basic pilaf with peas made with white rice, a tablespoon of oil, and a half cup of peas.
| Nutrient | Approximate amount per serving |
|---|---|
| Calories | ~260–320 kcal |
| Carbohydrates | 45–55 g |
| Protein | 6–8 g |
| Fat | 6–10 g |
| Fiber | 2–4 g |
Swap white rice for brown and you boost fiber and micronutrients. Use broth instead of oil-heavy cooking to lower calories. Adding a handful of toasted nuts ups healthy fats and texture.
Popularity in different countries Pilaf with peas
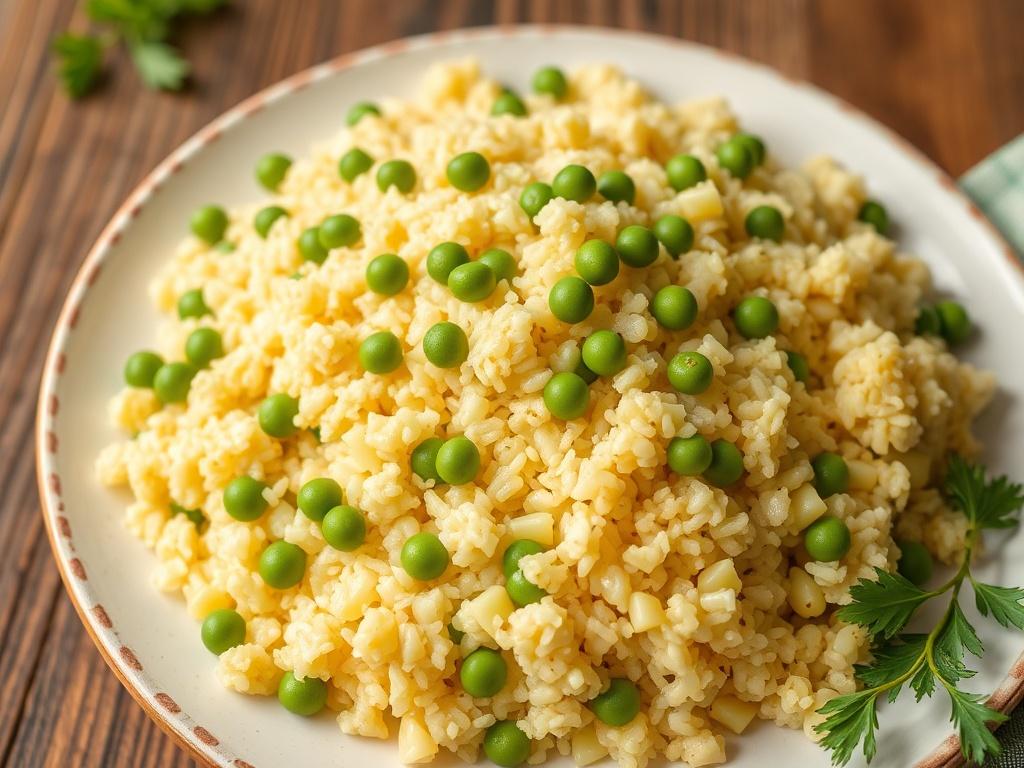
In South Asia, peas pilaf sits comfortably alongside dals and curries — quick to make and widely loved. In Iran and the Levant, peas show up in pilafs with saffron, barberries or dill. Central Asian plovs usually emphasize meat and carrots, but street and home cooks across the region adapt ingredients, so peas can appear in simpler family versions. In modern Western kitchens, pilaf with peas often appears as an easy side for roast chicken, fish or vegetarian mains because it’s fast, holds well and looks appealing on the plate.
The best step-by-step cooking recipe for Pilaf with peas
Ingredients
- 1 1/2 cups long-grain rice (basmati is ideal)
- 1 cup frozen or fresh peas
- 1 medium onion, thinly sliced
- 2 tablespoons vegetable oil or ghee
- 3 cups low-sodium chicken or vegetable stock (or 2 3/4 cups water + 1 tsp salt)
- 1 teaspoon cumin seeds or 1/2 teaspoon ground cumin
- 1 bay leaf (optional)
- Salt and pepper to taste
- Fresh parsley or cilantro for garnish
Method
- Rinse the rice under cold water until the water runs clear. Drain and soak for 20 minutes, then drain well. Soaking shortens cooking time and improves texture.
- Heat the oil in a heavy-bottomed pot over medium heat. Add cumin seeds and let them sizzle for 20–30 seconds, then add sliced onion. Cook until the onion is golden and soft; don’t rush this step—browned onion gives flavor.
- Add the drained rice and stir gently, coating the grains in oil for 1–2 minutes. This toasting step helps keep the rice separate.
- Pour in the stock, add the bay leaf, and season with salt. Increase heat to bring the liquid to a gentle boil.
- As soon as it boils, reduce heat to low, cover tightly and simmer for 12 minutes. After 12 minutes, scatter the peas over the rice—no stirring—and cover again for 5–6 minutes. If using frozen peas, add them a minute earlier.
- Turn off the heat and let the pot rest, covered, for another 5–10 minutes. Fluff gently with a fork, remove the bay leaf, and garnish with chopped herbs.
Tips for perfect pilaf with peas
- Measure liquid precisely; too much makes mush, too little leaves the rice undercooked.
- For more depth, use half stock, half water, or add a splash of lemon at the end for brightness.
- Customize: toss in toasted almonds, raisins, or small cubes of cooked carrot for color and texture.
Pilaf with peas is a humble recipe with serious charm: quick enough for evenings, pretty enough for guests, and flexible enough to match whatever’s in your pantry. Try the method above, then make it your own—once you understand the balance of toasting, simmering and resting, the rest is just seasoning and imagination.


